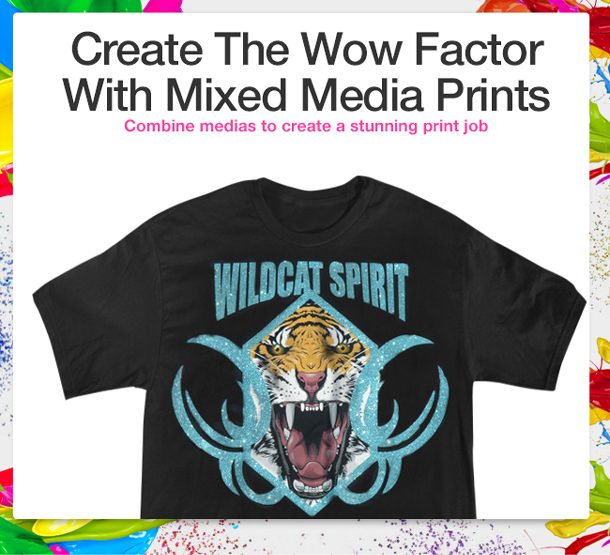
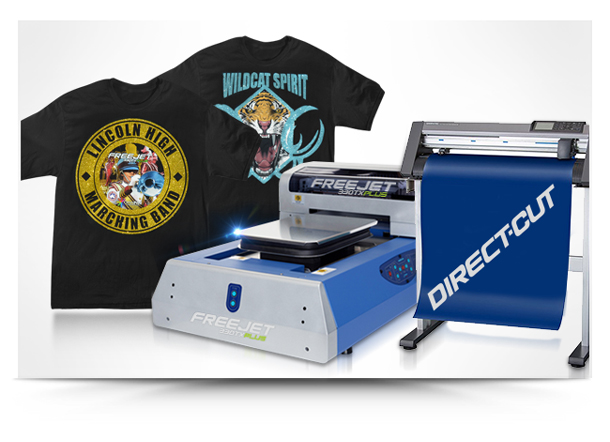
In most cases many printers will use a specific application when it comes to doing specific print jobs. For most print jobs the DTG printer is used to create anything from single color basic designs all the way up to amazingly detailed massive color designs. Sometimes however for single or low color amount jobs vinyl is used for its simplicity or to get the need expressed by a customer. Vinyl however has a great use when it comes to special effects like glitter, metal, hologram, reflective and flocking that cannot be produced with Direct to Garment. Now if you want to offer your customer the ultimate print job it is not hard to combine the two Medias to create one stunning print job that you can charge top dollar for. This could also give you that competitive age above the rest. Having the right tools for the right jobs is always the key factor to perfection and this is a great example of how the FreeJet 330TX Plus and the Graphtec vinyl cutter live together in perfect harmony. A good example of this would be a high quality design printed with DTG and the text of part of the print is done is a sparkling glitter or hologram like in the picture shown. This is very easy to do.
What will you need?
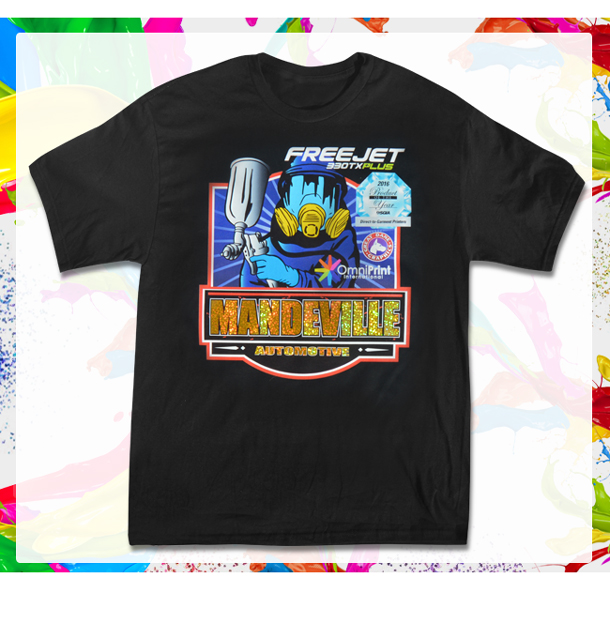
· Freejet 330TX or 330TX Plus
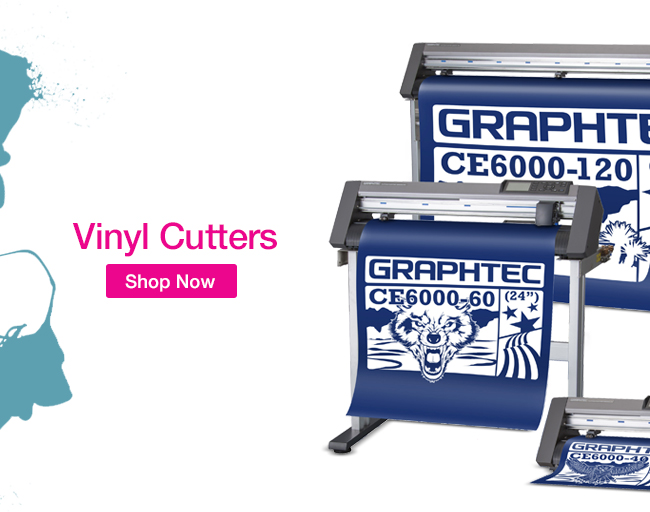
· Graphtec Vinyl cutter
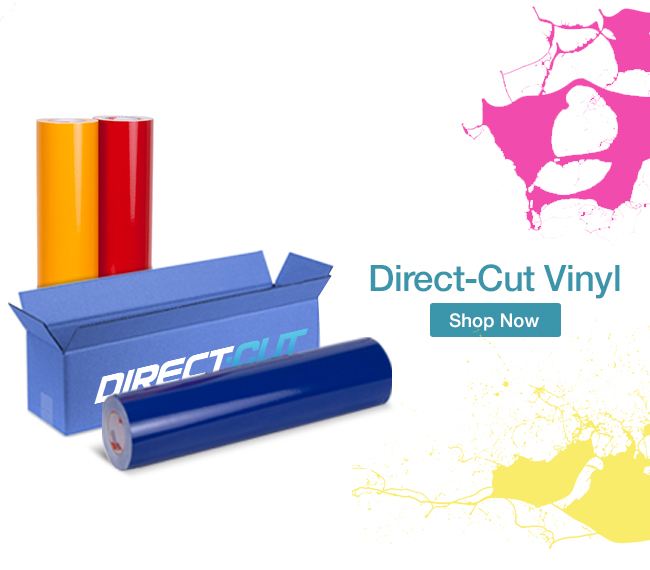
· Roll of the specific vinyl you want to use (SE or Special Effects)
· Corel Draw or Adobe Illustrator
· Graphtec design and cutting software “Cutting Master 3” (comes free with cutter)
How it’s done
The process is not very hard at all but you will need to have a vector graphics program like Adobe Illustrator or Corel Draw. In one of those programs create is import the design you are going to use. Make sure to size the image at the same size you want to print it. Now in the vector program add the text you want to use with this design. Once it is completed select the text only and go to “File” and then send to “Cutting Master 3”. The program will open up ready to cut the text you have selected. Use whatever kind of vinyl you want to create an awesome look. Save this design and your master file. Now select and remove the text and export this file as a PNG. This will be your print file, if you have created the entire image in Corel or AI you will need to Export it as a PNG file to print it anyway.
With your text cut out now go ahead and print your design from the print file making sure the text area is not printed. Once you have printed and heat pressed your design now go ahead and place the vinyl cut text neatly into place. You may want to use some heat press safe tape to hold it in place. Add a little more pressure to your heat press, place a sheet of heat press paper over everything and press for 10-12 seconds. Once done peel of the backing sheet, bada boom bada bing….you now have a mixed media print ready to show the world. OmniPrint has been working very hard to add the best quality and lowest price vinyl products to its line of DTG products. Take some time to take a look in our on line store at new products we have made available to you. Start to consider us as your one stop shop. I have to say the moment I did this first mixed media print I doubled my work load because everybody wants one, or 2.